4 ways to make a wax seal stand out
It is no secret that I love wax seals, and I always try to find excuses to use them as much as I can. Because of that, I decided to create this blog post to show you some of my favourite ways to make a wax seal stand out.
Firstly, how you create a wax seal?
Using a wax seal stamp and wax, you melt the wax into a spoon or glue gun, pour onto the envelope where you need to close it and press the stamp onto it to create an impression.
A bit of history of wax seals
Historically, wax seals were used ever since the middle ages. Their purpose was to seal official documents and special letters. The unbroken envelope seal was proof that those envelopes didn't tamper.
Nowadays, wax seals have become so popular among wedding stationers. These are used to enhance and bring a tactile feel to wedding invites, save the dates, place cards or menus.
I have mostly used wax seals for personal use when sending envelopes to calligraphy friends, family and close friends.
With the holiday season fast approaching, I thought to offer you some ideas on how to make your envelope stand out by adding a wax seal and share few ways to accessorise that seal.
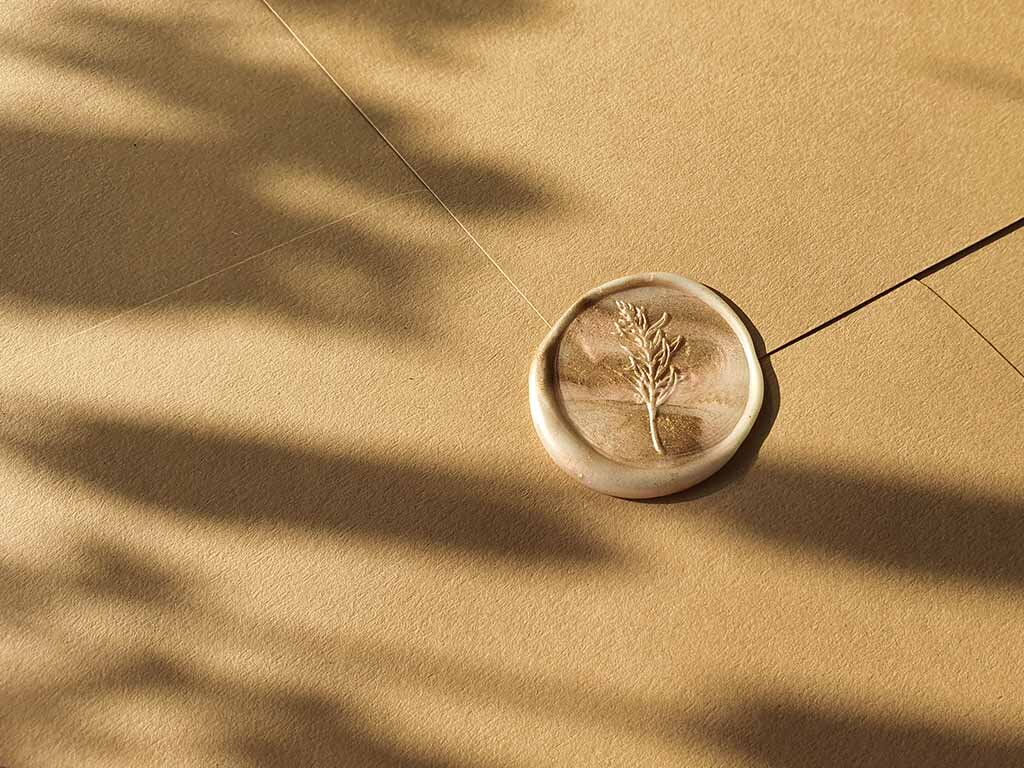
Highlight the design of the wax seal with a touch of gold
For this effect, I use a Sakura Pen Touch gold pen with a fine point, but any gold marker would work. When the wax seal is thoroughly dried, I carefully go on top of the wax seal design and apply the colour. The effect is simply stunning. Instead of gold, you can use silver colour as well. Here are a few examples I made in the past.
Tip: squeeze out some ink from the marker on aside, and you should get enough colour on the tip to cover the design; DON'T press the marker on the wax seal to get out the colour.

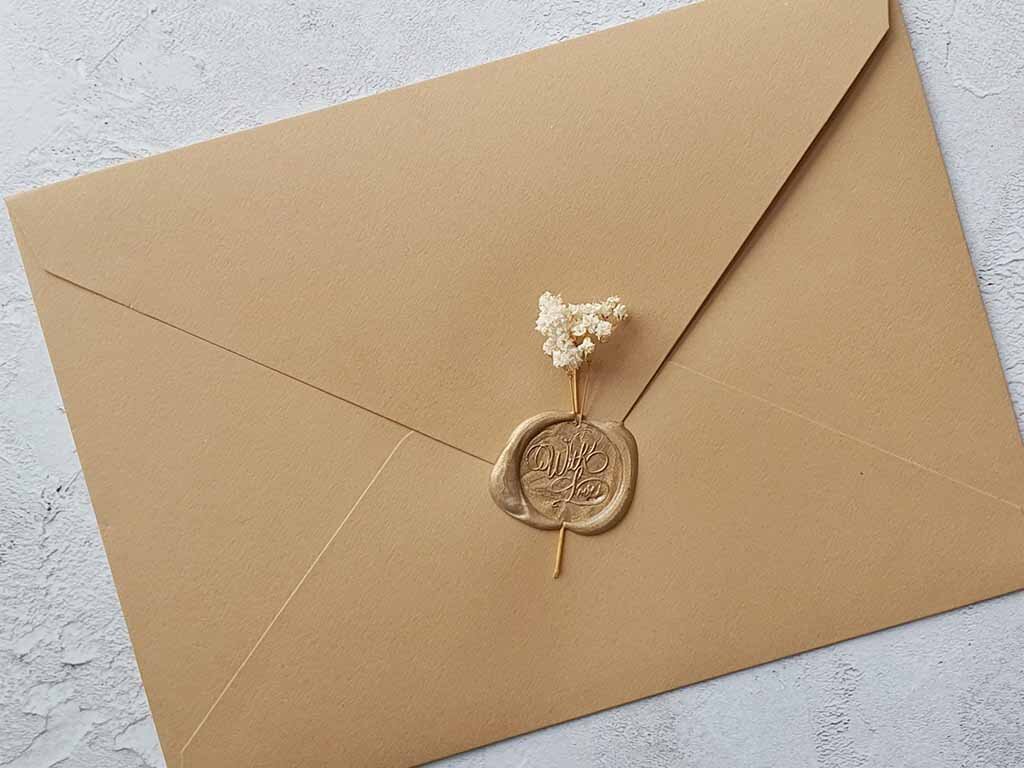
2. Dress up your wax seals with dried florals or greenery
Here, you can get your imagination and creativity into play. The ideas you can come up with will depend on the area you live, and the season. I like to use dried seeds, small dried baby wreath, dried lavender, holly leaves, small branches of pine or berries etc. The pine might also add a pleasant scent, and you should give this a try.
Tip: use a cello bag to insert the envelope when sending in the post for a bit of protection
3. Combine 2 colours for a marbling effect
Mixing two colours for a marbling effect is one of my favourites because you can never get two identical marbled wax seals and this will make the wax seal even more unique. I usually create a marbled wax seal with a spoon. I apply the two chosen wax colours into the melting spoon at the same time. I have found that the way you pour the wax will give you different results, and that’s the beauty of this technique.
Tip: use two contrasting colours for a better effect like white and black, white and dark green, gold works with any colour.
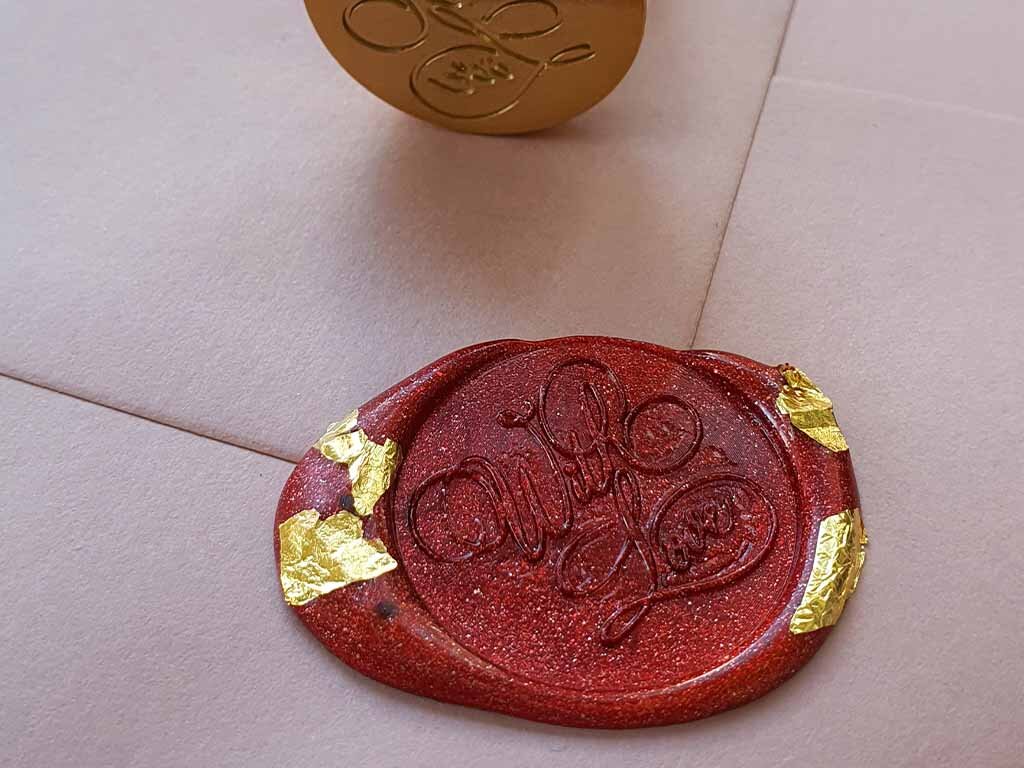
4. Use gold leaf
Using gold leaf is the newest discovery of mine, and you'll have to be a bit quick when applying the gold leaf.
Tip: prepare your gold leaf before making the wax seal into small pieces and use some tweezers to apply the little details of gold leaves and most importantly, do this in a non-ventilated area and hold your breath for as much as you can. :)
And, to show you all these techniques, here’s a video compilation with all 4 way mentioned above in use. Let me know in the comments below which is your favourite and if you tried any.
Feel free to tag me on social media if you get inspired from this blog post. Tag my account @ulianapopacalligraphy and I’ll be more than happy to share any of your creations.
Thank you for reading this far. Until next time!
Love,
Uliana x