
How to Use A Wax Seal | Step-by-Step Tutorial
Wax seals are so elegant and sophisticated! ...but can be so tricky!
Unless you have the right tools for the job, and a few insider tips that is! Luckily, I work with wax seals regularly and I'm going to show you how to use a wax seal stamp, together with a few of my favorite tricks.
You can watch the video tutorial or read the step-by-step instructions below:
How To Use A Wax Seal:
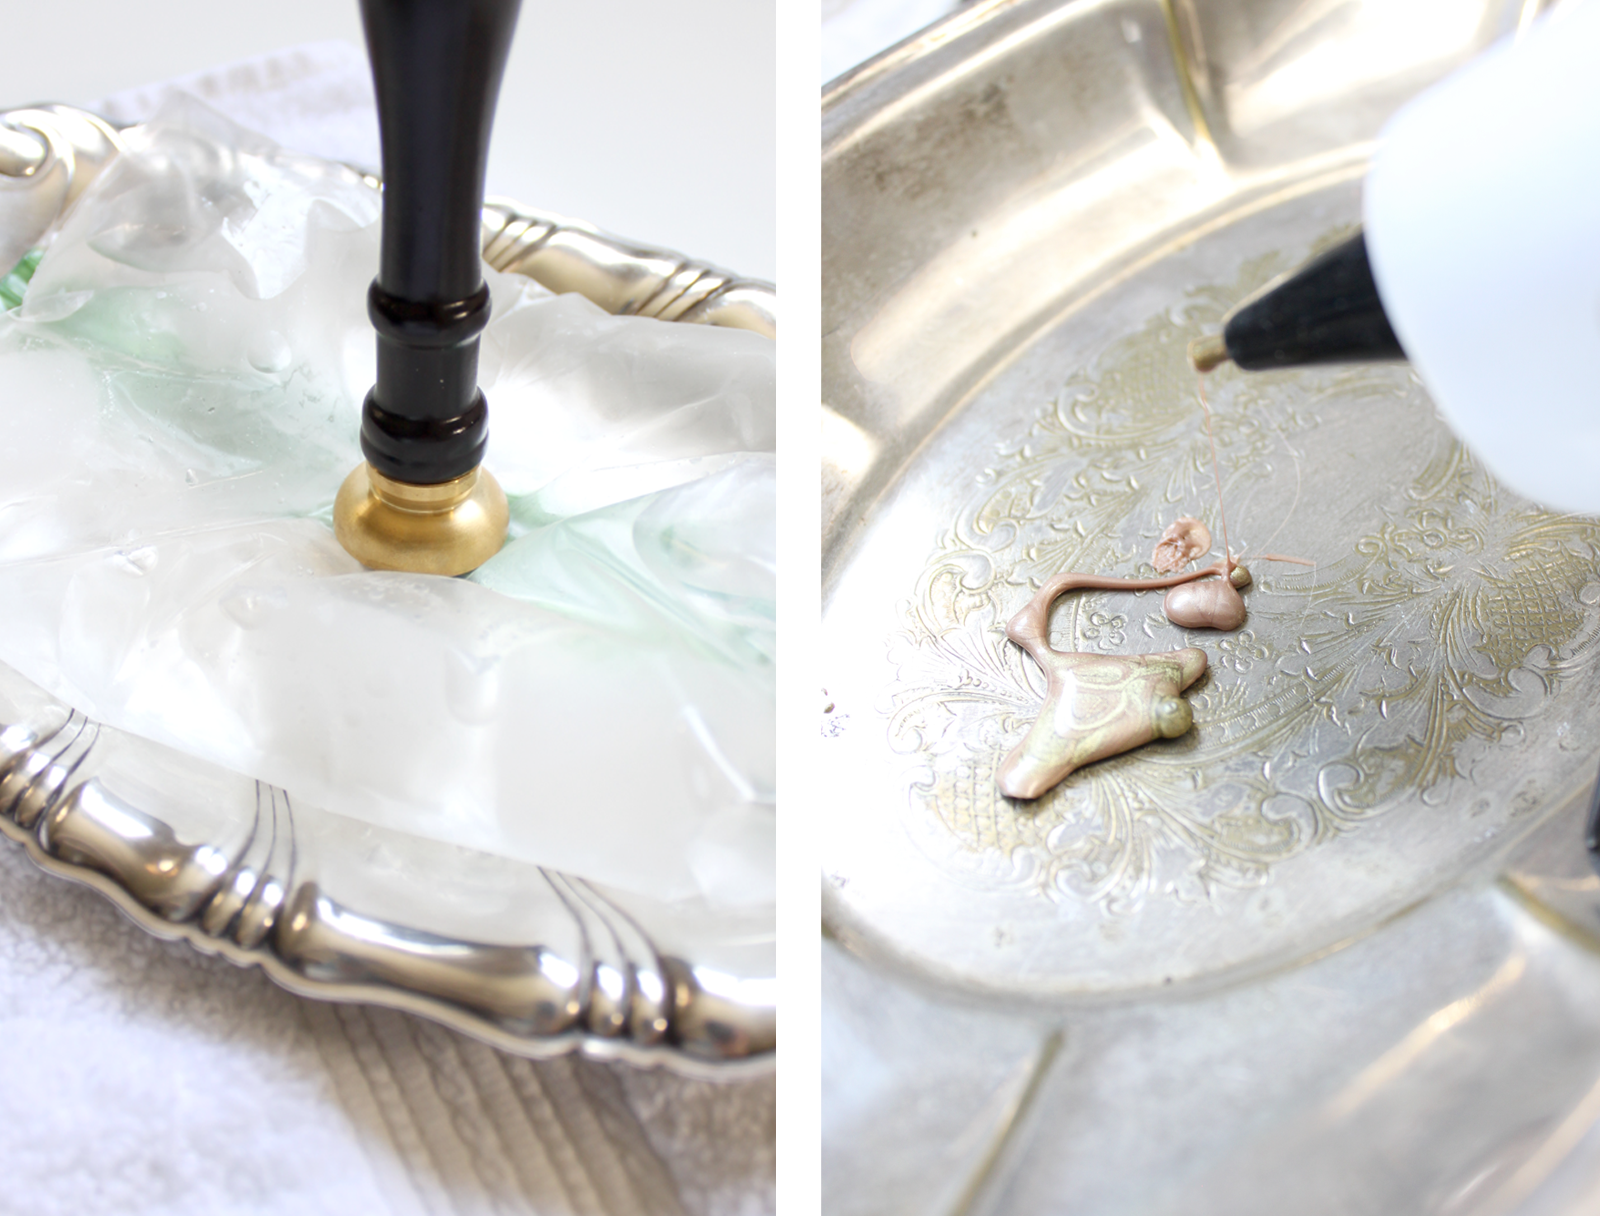
Step 1: Chill Your Stamp
A cold wax seal stamp works faster and gives a better impression than a room temperature or hot seal will. While this is not as important when you are only making one seal, if you are assembling all of your wedding invitations, you want to make this process as quick and easy as possible!
I prefer to fill a sandwich baggy with ice and water and place that in a bowl. Place the stamp face down onto the ice so that the metal is able to cool.
Pro tip:
Reserve a place to put your glue gun or melting spoon while not in use! I like to have a plate or something that the wax can drip on without making a mess.
Step 2: Melt the Wax
Option 1: Use a traditional melting spoon over a tealight or small flame (full tutorial here)
Option 2: Use a standard glue gun (shown throughout this tutorial)
For large orders, I prefer the glue gun. It's fast, it's easy, and you can keep the wax in it if you need to take a break or save it for another job. But the spoon is great for smaller jobs (and it makes me feel fancy! haha). No matter which method you use, the goal is still the same: melt the wax.
Pro tip:
One mistake that I see often is wax that is too hot. Set your gun to "low" if it has a temperature setting. If the wax bubbles and the impression is not as crisp, that’s usually a sign that the wax was too hot. If you’re working over a flame (like with a spoon), then allow the wax to cool for a moment before you pour or place the stamp.

Step 3: Pour the Wax
The correct amount varies from seal to seal and depends on the look that you want. The messier you pour, the messier the edges are! Though I have found that the seals tend to unify the wax a little more, so don't worry if it feels "too messy" for you.
For a 1 inch, circular seal, I have found that 1 to 1.5 pumps on a standard glue gun is juuuust about right. If you're using the wax beads in a spoon, 1 bead should equal 1 seal, though I like to start with 2-3 to get the wax flowing nicely!
Pro Tip:
If you’re looking for perfectly round seals, make sure that you’re pouring the wax right into the middle of your seal—not moving it around (like I tend to do because I love some character to my edges!)
Step 4: Blot & Press
Now it's time for the real fun to begin! Your wax is melted and has been poured onto the desired surface! Take your chilled stamp off of the ice, blot on a clean paper towel or wash cloth to remove any water that may have collected, and place the seal at the center of your wax!
Pro Tip:
Get a straight stamp every time by marking the top of your seal with a small pencil line along the side of your stamp! Then use that mark to line up your stamp before you press.
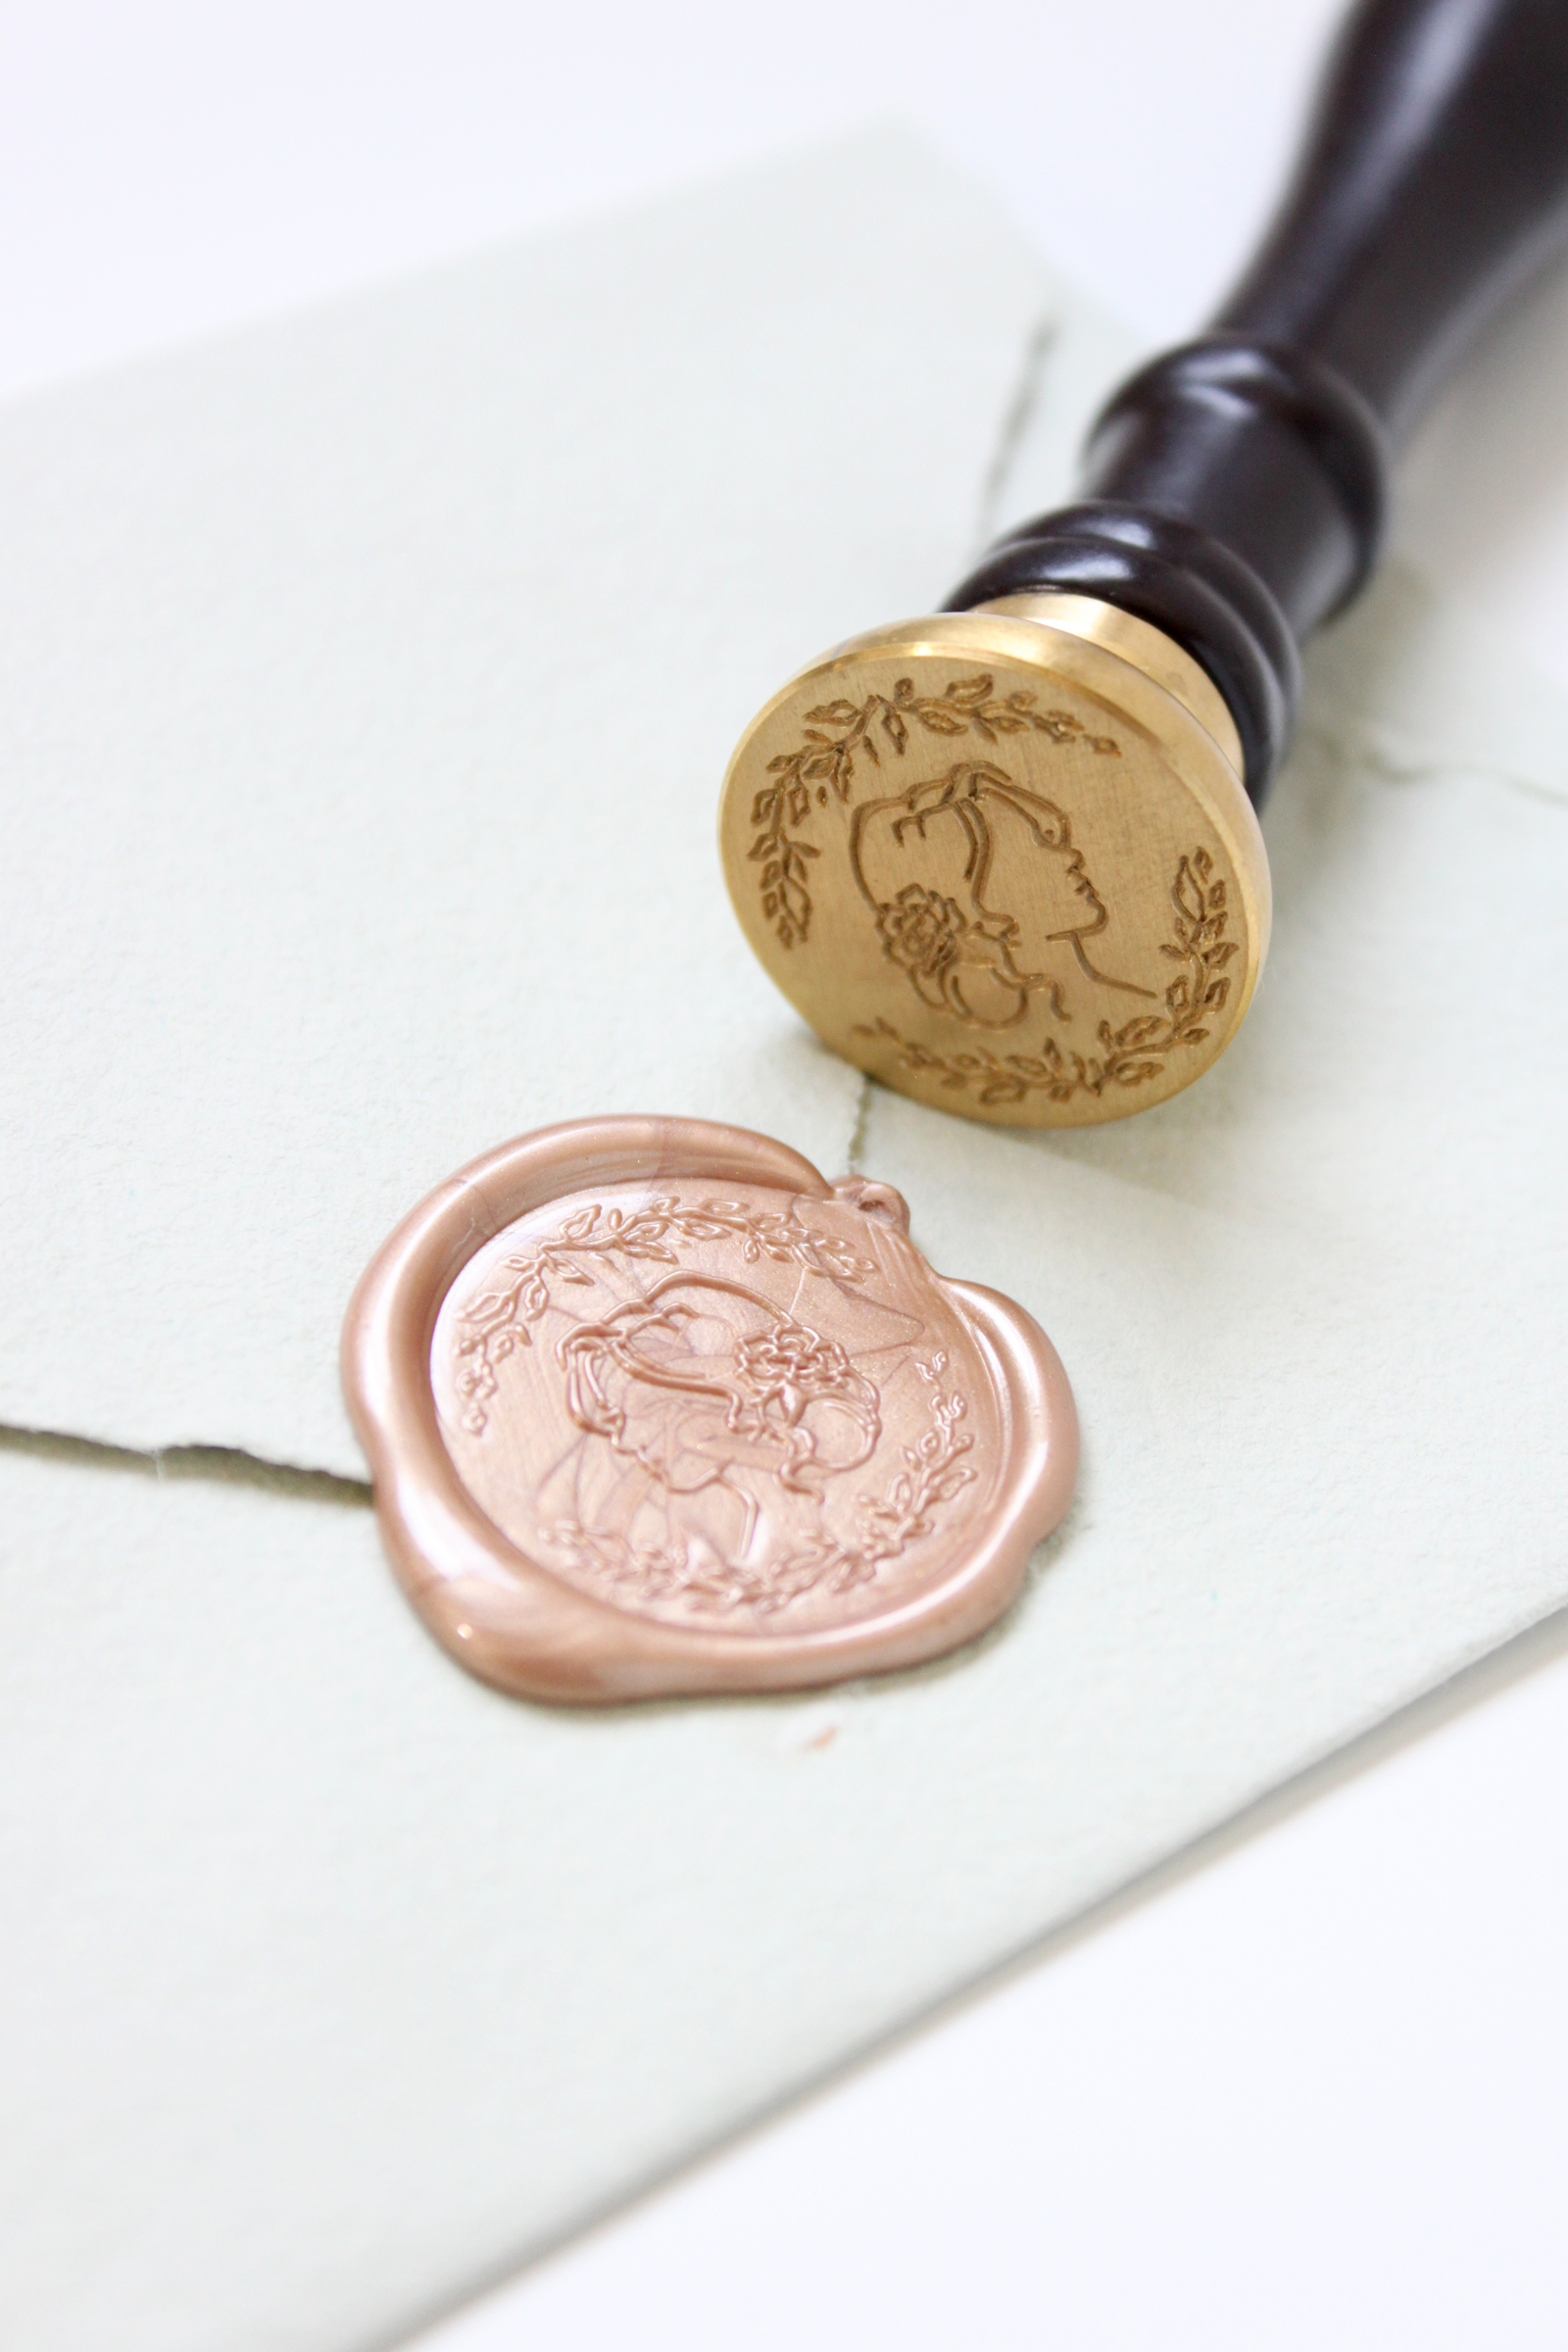
Step 5: Reveal
After you wax has cooled, give it a gentle pull. If the wax seems to move at all, then let the stamp rest for a few more moments. If the wax feels stiff as you start to wiggle the handle, then it should be safe to pull the stamp off.
Now sit back and admire your beautiful work! Isn't it satisfying?
And don't worry. That feeling never goes away!
*This post contains affiliate links, but all opinions are my own
Photos on this post by Katrina Crouch